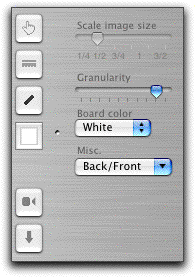
The color of the chalk is what is shown in the color well. When you choose a different tool, the chalk tool switches back to its default (medium size) or may remain the way it is depending on how you set it in the Preferences.
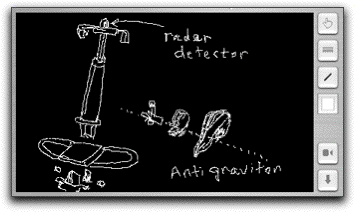
With iStorm/iChalk version 3.0 or later, the eraser on top of wacom stylus is automatically recognized. Just flip the stylus while using the chalk tool, and it will automatically function as an eraser with its size determined by the current chalk size.
 The last item in the chalk tool [v3.3 and later only] is the caption/text block tool with which you can type in rich text line by line. (You can change the style, color, baseline (super- or sub-scripts) etc in the middle of composing a line, or apply to the whole selection in the line during its composition.) Since it is primarily meant to be adding something like speech bubbles in a comic book panel, it has a limited editing capabilities. Just click on the board and start typing a simple line. When you are done for the line, press return key for the next line.
If your line needs to be extended horizontally, just click on the board where you want the left-bottom corner of the block of text to be.
When you are done with a few lines of text, how do you terminate the process? Press Tab or Esc key. Or simply press the return key twice in a row (as if you want to enter an empty line). The board will take it as your signal to terminate the process. That way, you are saved one more trip to the mouse.
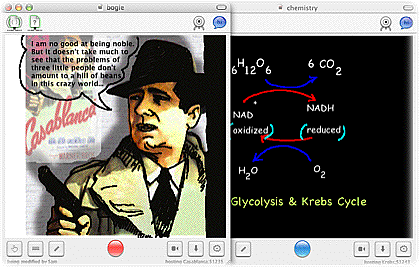
The figure above shows the kinds of things you can do with the new caption tool. When you input a line of caption, remember that you can change its various attributes such as font, size, color and base line. [for super- or subscripting, use Command-}, Command-{ and Command-| as you would in the main iStorm document.]
Once you have created a caption block like this, then you can use the caption-hand tool (part of the Hand tools below) to reposition or delete it later.
Currently, this tool does not offer a way to revise an existring caption, though.
Erasers
 Jane is trying to help Jan and put erasers to a good cause.
(Did we tell you that Jane has a PhD in physics and has low opinion of anti-gravity?)
The eraser button cycles through four different types.
The first one with the rugged bottom has a slightly annoying feature of leaving some dust.
This is partly developer's whim, and partly to provide some sense of history of activity on the board as it gathers dust and leaves trace around.
The more you use it, the more dust it will gather, up to a point.
The second one with flat bottom will correspond to super-clean eraser with slightly bigger size.
(The dust on the first one is reset to minimum once you choose the super eraser.)
The third one, which looks like the eraser tip of a pencil provides finer eraser control.
 The last one is for erasing a text box. It does not allow erasing individual characters but the whole block of text (caption) whose rectangle center lies closest to the mouse point. If one wants to delete several captions at the same time, one may use the caption hand tool
  instead to select the captions (by Shift- or Command-clicking them) and pressing the delete key.
With iStorm/iChalk v3.0 or later, pressing option key while using either the chalk or the eraser will double its size. Control-key will quadruple the size. This is useful especially for iChalk v3.0 or later when the window size has been enlarged and the normal tool size is no longer adequate in size.
Puffers
 Choosing puffer and clicking on the board erases all previous drawing of Jan. A feature Jane is resisting hard to use now.
It cycles through three options. First, it will erase only the front layer (the one Jan drew with chalks). The second setting will erase only the background imported image, if any.
The last will erase both. This action has limited undo support.
Pressure Sensitivity
 Jan has a pressure sensitive stylus, so he can take advantage of it by toggling the button for pressure sensitivity. Both the chalks and erasers become pressure sensitive when the button is lit blue. Even without pressure sensitivity, he finds that the use of tablet and stylus immensely enhances the experience with iChalk.
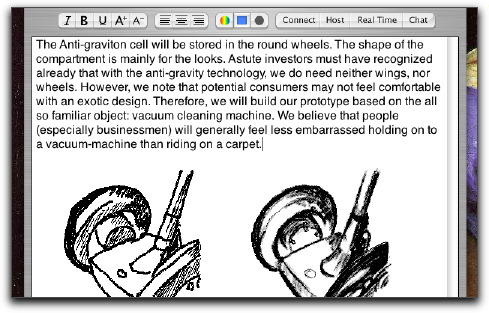
On the left is how Leonardo would have sketched his version without pressure sensitivity. With the pressure sensitivity, Jan could be more expressive. With the second drawing, he feels quite confident about persuading the venture capitalists he's meeting this afternoon.
Undoing a stroke
iChalk has somewhat limited undo capability. Only the immediately preceding stroke will be undoable. This limitation is due to some compromise we had to make in optimizing the network communication of changes made.Hand tool
 The hand tool is for moving the picture into the main document window. When moved onto Finder, it will be in the format of the ubiquitous tiff file, which may be imported into Photoshop or similar programs for a very serious touch-up.
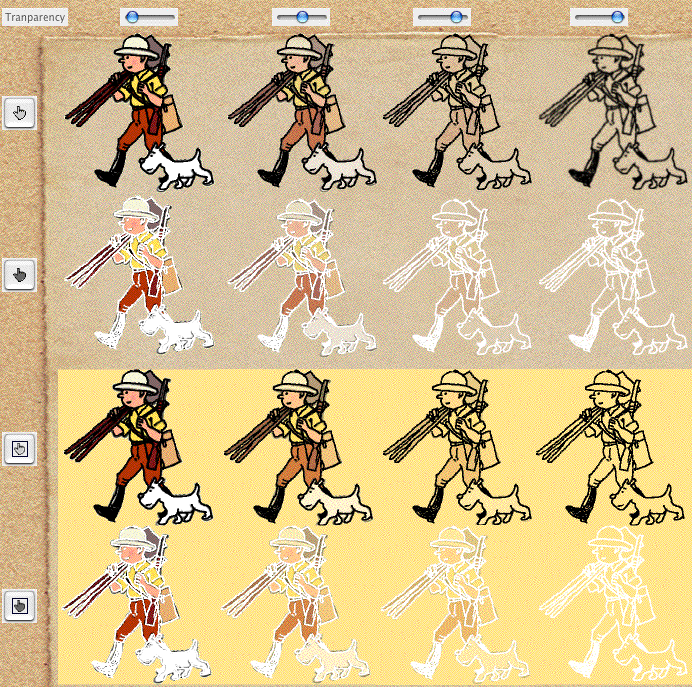
The first two hand tools will give you either original drawing
 or an inverted color version of the front layer
  (only those touched by a chalk or an eraser) and the imported background image, if any.
The relative transparency of the background image will be set by the current transparency setting on the slider.
If you want just the chalk drawing with transparent background, adjust the transparency slider to make imported image invisible before using the hand tool.
These two hand tools do not copy the board color. Therefore, if the imported image is set to be transparent, you will see that only the chalkboard drawing will be moved with clear (transparent) background.
The last two hand tools are to move the images (chalk drawing
 and the imported image
  , with adjusted transparency)
and the underlying board color. This is useful when you want the images lying on top of a solid rectangle with the board color.
When a background image is imported, it is automatically resized to fit inside the current board, while preserving its aspect ratio. Sometimes, one may want to trace only a part of the image with its size enlarged.
With v3.0 or later, you can rescale and move background image to do that: With any of these hand tool chosen, press option key while dragging the mouse to make a rectangular lasso around the area of the imported image to be enlarged. Upon releasing the mouse button, the image will be resized and moved in proper location to let you focus on the area of your selection. This is undoable with limitation. Once you zoom-in on the background image, you can not zoom out to an arbitrary size and location. The only way to do so is to drag in the original background image again.
Confused with too many hand tool options? Let us assume that you imported a gif image of Tintin and Snowy with transparent background and traced over it using a black chalk, while having the chalkboard color in yellow. [The following description applies to iStorm 3.0 or later. Earlier versions may yield different results.]
Start with an empty board with its background color chosen yellow.
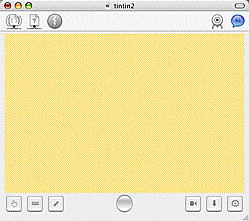
Import a gif image with transparent background.(With alpha channel). Note that many images do not have alpha channel. In that case, the background image will fill the whole rectangular area, obscuring the yellow board background.
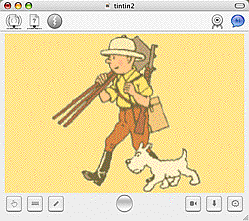
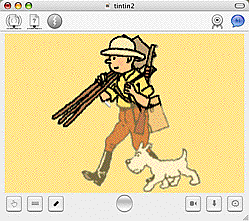
Choose a chalk tool with black color and begin tracing. Note that one can adjust the strength of the background image by Transparency control slider in the Toolchest.
Here is the grand summary for what is moved into a Keynote slide with different combinations of transparency and hand tool selections after you finish tracing.
When a background image is imported, it is automatically resized to fit inside the current board, while preserving its aspect ratio. Sometimes, one may want to trace only a part of the image with its size enlarged.
With v3.0 or later, you can rescale and move background image to do that: With any of these hand tool chosen, press option key while dragging the mouse to make a rectangular lasso around the area of the imported image to be enlarged. Upon releasing the mouse button, the image will be resized and moved in proper location to let you focus on the area of your selection. This is undoable with limitation. Once you zoom-in on the background image, you can not zoom out to an arbitrary size and location. The only way to do so is to drag in the original background image again.
Attention: Users of iStorm version 2.63 or earlier Please note that the behavior of the hand tools described above is subtly different from what you had in earlier versions of iStorm.
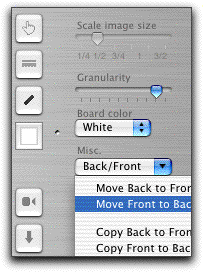
Scaling huge graphics down to manageable size
One of the most useful features of the chalkboard in iStorm is that you can use it as an intermediary between a huge image and the main iStorm document. Jan wants to show the Manhattan building which he would like to purchase eventually to house their anti-graviton company. It is a multi-mega-pixel digital photo and due to its high resolution, it becomes Huge (22 by 17 inches!) when Jan drops the picture directly into the document. Jane can see only a small portion of the picture, missing the real thing.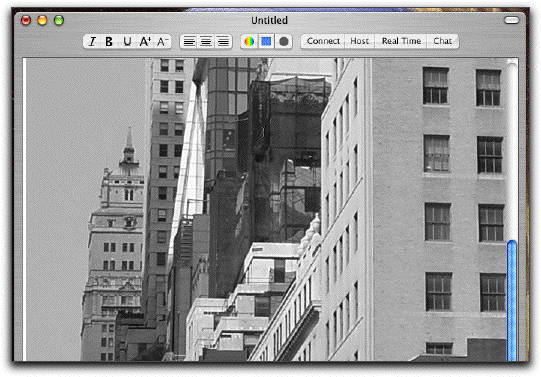
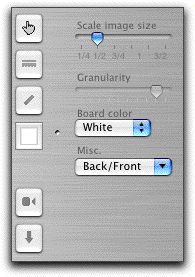
It occurs to Jan that if he drops the picture first into the iChalk board, and then use the third hand tool to move the background (along with chalk drawing, as he added some comments) onto the document, he will have the picture scaled down to the board size and Jane will finally get to see the black building with the sexy curve. By default, the image scaling slider defaults to half of the board size. This size is big enough to give details of the image yet small in consideration of network efficiency.
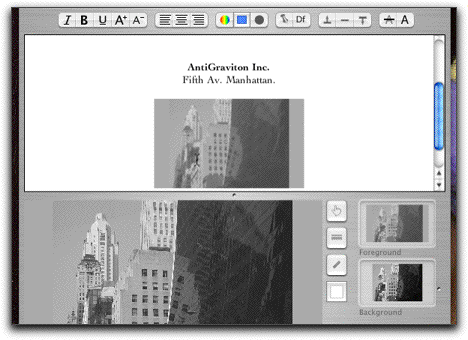
Exchange graphic commentary
Another useful feature is to add chalk-commentary on the imported picture as part of your collaboration. Jane has found out about something called Segway by an inventor more experienced than Jan and managed to find its picture.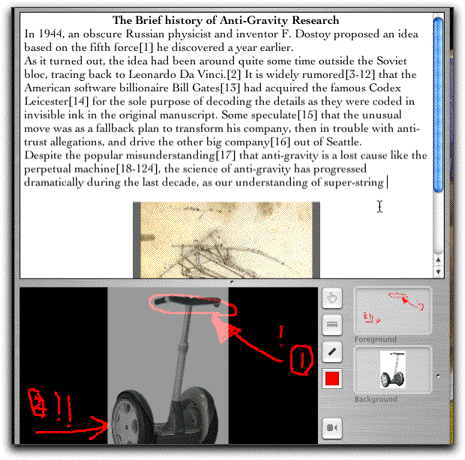
In the iChalk module, she added some comment on its similarity before sending it off to Jan by using the third hand tool to move the annotated image into the document. Unfortunately, that was the end of happy collaboration for Jan and Jane. Jan will have to call the venture capitalists to cancel the meeting.
Play with the tracing and Quicktime archiving features
 For more creative use of tracing, check out the Camera Obscura section for iChalk here and the gallery for iChalk.
With the anti-graviton project out of the way, Jan and Jane are back to having some fun. Jan drops a picture of Tintin and Snowy, his heroes, and trace over it. Pressing the Quicktime button, he opens an empty movie file and names it "Tintin doesn't need antigravity anymore.mov". A button appears with "0" on it. When he presses the button after each stroke, it changes to "1", "2", ... and accumulates his drawings (tracing!) as successive frames into the movie. When he is done, he presses the Quicktime button again to close the movie file. Jane agrees that time was better spent creating this amusing clip than on the silly anti-gravity machine.
iRotoscope
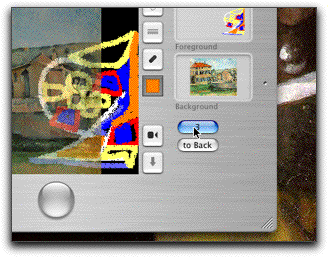
Ever being someone chasing dreams, Jan is now considering to take over Pixar. It is one thing to accumulate an ongoing art work such as a snapshot of Tintin and snowy above yet another to create a smooth animation such as the clips shown below:Unless you have genius in animation, you will find it rather difficult to create a smooth animation, even with the help of a background picture. That is because as you move along the succeeding frames, the scene eventually changes significantly from the static background, if you use one. More helpful will be if you use the previous frame as a template for the next frame. Here is how:
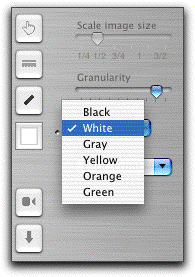
Change chalkboard background color
If you have problems or questions:
I dragged in a huge image. I need to trace only a small part of it. How do I enlarge only part of the image?
With iStorm v3.0 or later, you can easily do the followng:First, drag in the image.
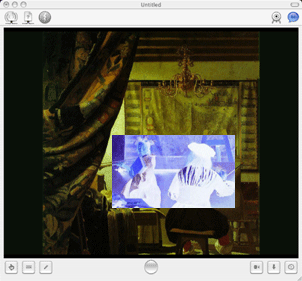
Second, choose the hand tool if it is not selected already. Then with the option key and the mouse button pressed, drag the mouse to select the region to be blown up. Releasing the mouse button, the background image will be replaced with a new one with the selected area.
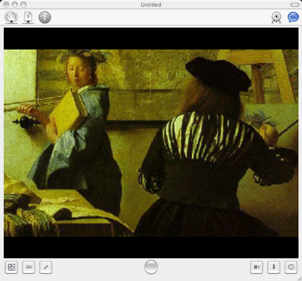
[The images here are taken using iChalk v3.0. It may look different for iStorm or other versions of iChalk.]
I have only a small sketch in the document, yet the saved document size is several megabyte? How come?
Most likely, you have dragged in a large background image into the chalkboard to trace, and set it to be transparent. Having made it invisible, you see only the part of your drawing. When you save the document, however, iStorm/iChalk saves the imported image along with your own work. If you find it unnecessary, resave it after removing the background image using one of the Puffer tool.
